- info@valdorart.com

3 Essential and 2 Extra Shading Techniques for Drawing
Friday, September 12, 2025
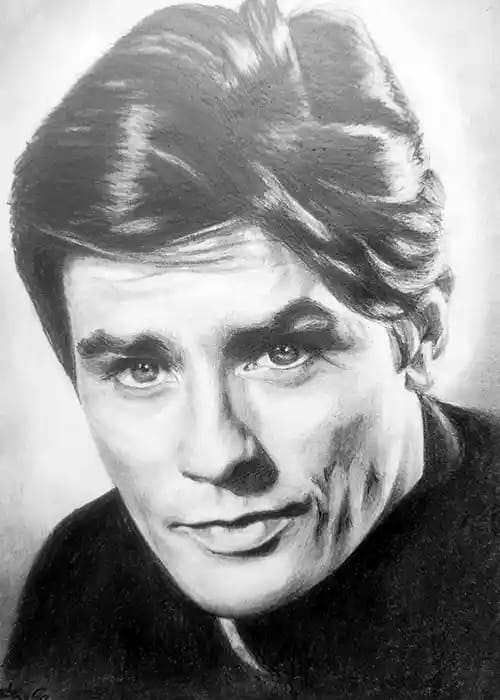
Shading is one of the most important techniques in portrait drawing. It adds depth, realism, and three-dimensionality to your artwork. Shading is more than just creating light and dark areas—the right technique helps you build texture, highlights, and a sense of form.
There are 5 different shading techniques that you can learn and master. In our videos, we demonstrate each technique in real-time, step by step
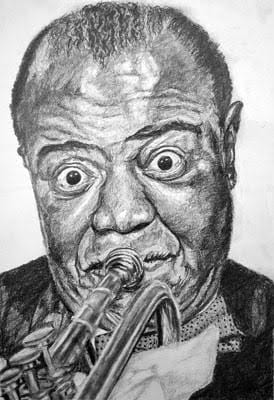
2. Blending – The Secret to Ultra-Soft Shadows
With the smudging technique, a paper stump, tissue, or cotton swab is used to blend the shading, making it smooth and soft.
✅ Why use it?
✔ Helps create ultra-soft shading and smooth gradients.
✔ Works exceptionally well for portraits to create natural skin tones.
✔ Eliminates harsh pencil strokes for a more realistic effect.
💡 Tip: Smudging can sometimes make shadows appear too light. To maintain contrast, go over the darkest areas again with a soft pencil to bring back the depth.
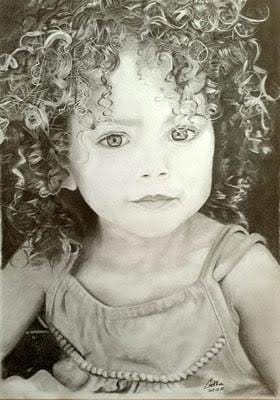
3. Crosshatching – Structured and Expressive Shading
Hatching involves drawing parallel lines with a sharp pencil. The spacing and thickness of the lines determine the shading intensity.
✅ Why use it?
✔ Enhances form by following the shape’s natural curves.
✔ Creates a more structured, graphical effect.
✔ Provides better control over light and dark areas.
💡 Tip: For a more realistic look, adjust the length and angle of the lines to match the natural contours of the subject.
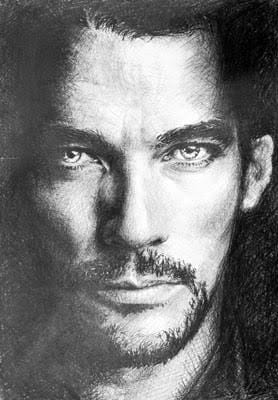
✨ 2 Extra Shading Techniques for Unique Effects
These techniques add special textures and light effects to your drawings.
4. Frottage– Creating Texture in Seconds
The rubbing technique involves placing a textured surface beneath the drawing paper and shading over it with a pencil, allowing the texture to appear on the surface.
✅ Why use it?
✔ Quick and effective for adding texture.
✔ Perfect for creating clothing patterns, rough surfaces, or natural elements.
✔ Adds an interesting visual effect to drawings.
💡 Tip: Experiment with different materials—fine canvas, rough paper, or lace can create amazing textures!
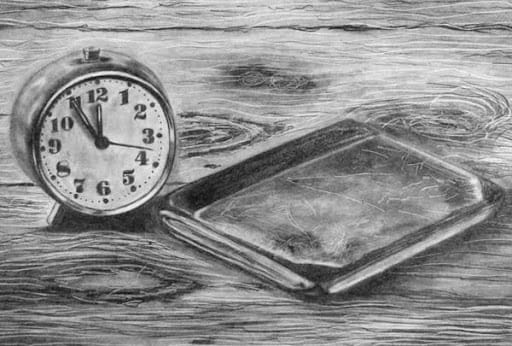
5. Engraving – Highlighting Without an Eraser
With indentation, a sharp tool (such as a stylus, knife edge, or even a ballpoint pen without ink) is used to press lines into the paper before shading. The indented areas remain white when shaded over.
✅ Why use it?
✔ Ideal for drawing fine hairs and reflective highlights.
✔ Ensures bright highlights remain visible even after shading.
✔ Particularly useful for blonde hair, eye reflections, or sharp light contrasts.
💡 Tip: Make sure your indented lines follow the natural flow of the subject to maintain a realistic effect.
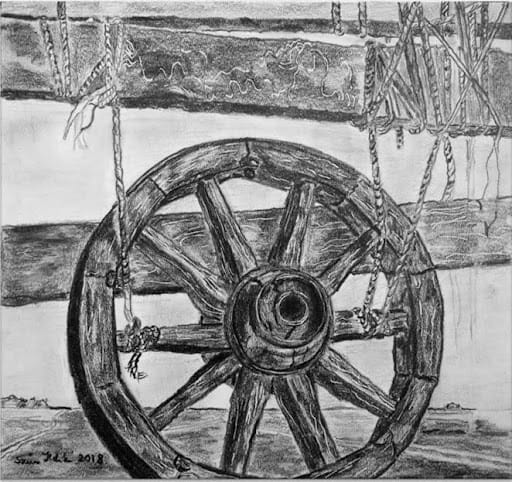
🎥 Learn All 5 Techniques in Our Videos!
To make your drawings truly realistic and de
tailed, mastering shading techniques is essential.
📺 In our videos, we demonstrate each shading technique in real time, step by step, so you can follow along and practice with us.
✅ No fast-forwarding – you see every movement exactly as it happens.
✅ Learn and apply instantly – no unnecessary theory, just hands-on practice.
✅ Understand when and how to use each technique through real examples.
If you want your drawings to be lifelike and professional, try out all 5 shading techniques and experience the difference! 🎨
Credo
You're capable of more than you think.